Winter walking kit: Must know gear tips for winter conditions
Posted On: 09th December, 2024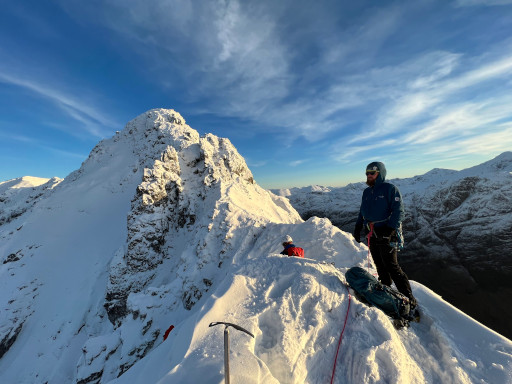
(Photo credit: Peak Climbing School)
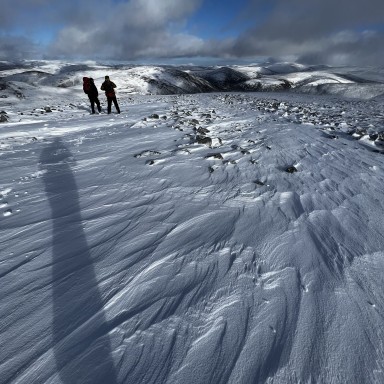
As the winter months are moving in and the mercury starts to drop, it’s the time of year our instructor team begin to tune their kit for the colder conditions. We took this chance to catch up with them to share their top tips with you. Like most things in the outdoors, how you like to organise your kit is largely personal preference, and the best system is the one that works for you.
-
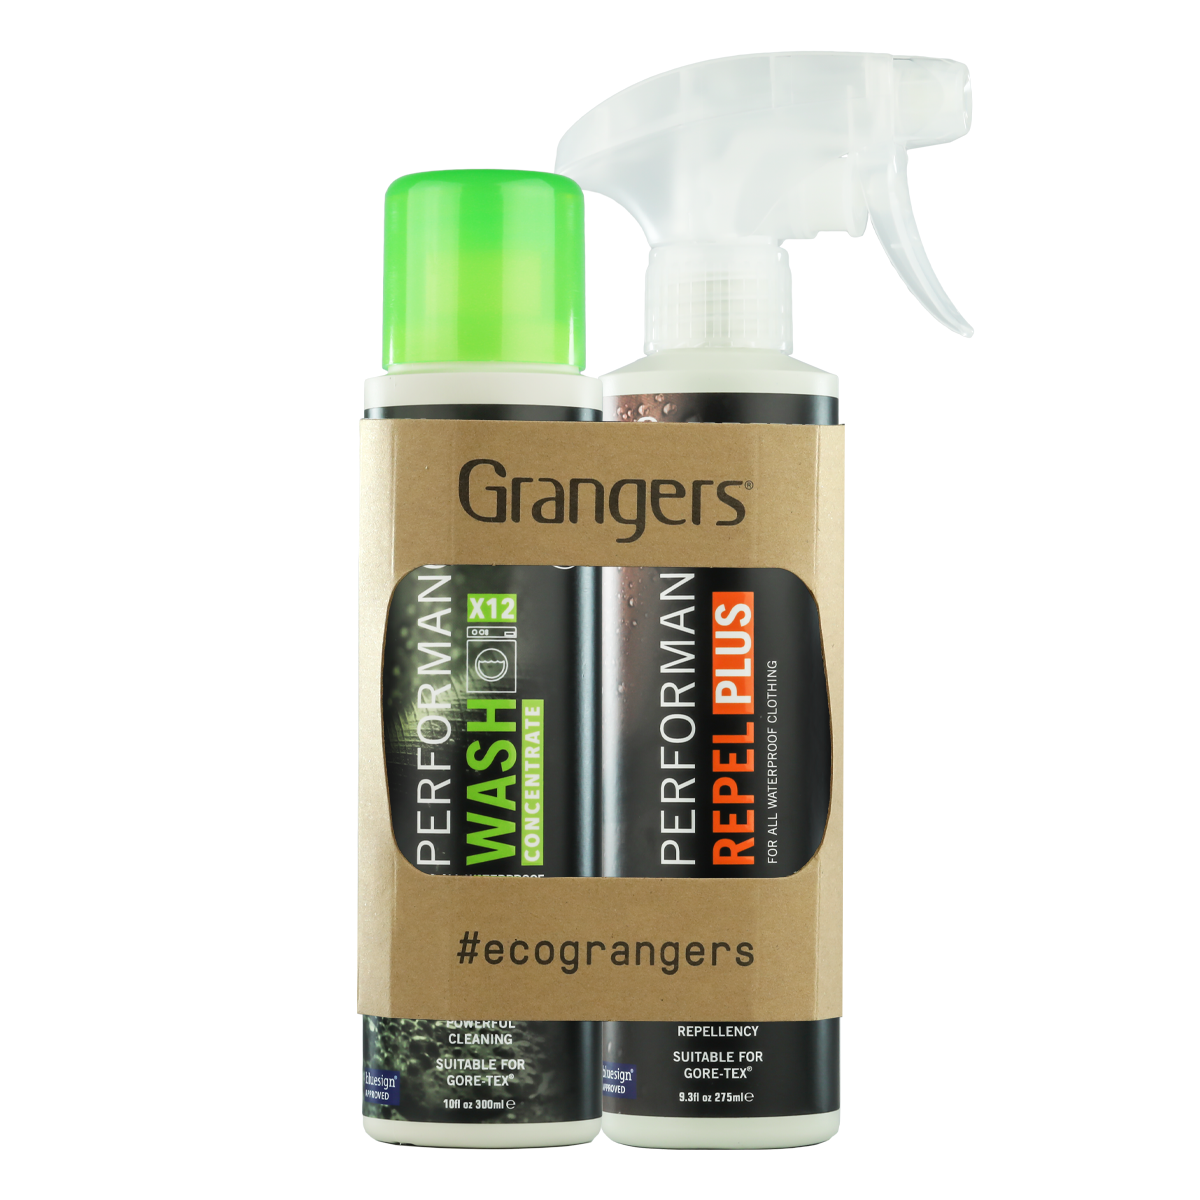
A dirty jacket is a wet jacket: revive your waterproof gear
(Photo Credit: Grangers)
Let’s face it, in the UK it’s pretty damp all year round but come winter being wet comes with getting extremely cold which increases our odds of cold illnesses such as hypothermia, so now’s a good time to refresh those waterproofs!
Waterproof jackets and trousers will come treated from the factory with a DWR (Durable Water Repellent) but as we use our kit and it gets dirty this waterproofing starts to become less effective. Put simply, when your kit is dirty the dirt in the pores of your waterproofs act as a highway for water to scoot across the membrane making you wet.
Clean the gear: Use a specialist kit wash brands like Grangers are a safe bet. Regular detergent harms the DWR and leaves residue. Run your washing machine empty first to remove detergent build-up.
Reproof the gear: After washing, apply a spray-on or machine wash reproofing treatment. Dry your gear with a tumble dryer or a low-heat hairdryer to reactivate the treatment and help water bead off the surface.
-
Warm drinks = winter bliss: Don’t leave home without a flask
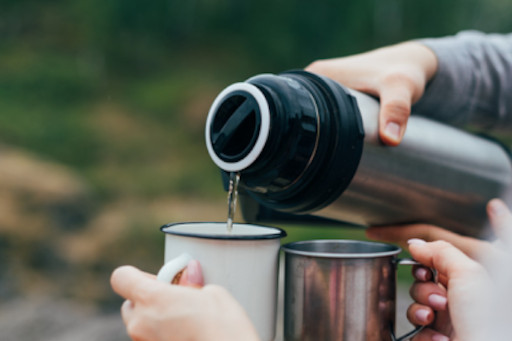
Hot drinks are a great addition to a winter pack as they’ll raise your core temperature. If hot drinks aren't your thing, simply swapping a water bottle to a flask is an excellent way to stop your drink from freezing. If you don’t want to buy a thermal bottle, but want to stop water freezing, strong squash can be enough sometimes as the sugar can stop the water from freezing as fast.
-
Winter lunch hacks and glove friendly snacks

In summer nothing beats enjoying a prolonged lunch stop on a summit soaking up the views. However, in winter as things are colder (and if you’re unlucky wetter), we can’t always afford a sitdown lunch.
It’s worth tweaking your food for things that are:
- Easy to eat on the move.
- Resistant to freezing.
- Suitable for eating with gloves on.
Things like wraps, big pork pies, the resealable corn snacks or home made trail mix can keep you well fuelled with unnecessary stops. If it can fit into a chest pocket so you don’t have to get it out of your bag, that's an extra bonus.
-
Beanies, Buffs and Balaclavas: the unsung winter heroes!
(Photo credit: Peak Climbing School)
A wooly hat is key to reducing heat loss and can also protect your ears from the wind. Everyone loves a bobble, but a thin beanie also works well under a climbing helmet if you need one. If the weather looks really bad it’s worth considering a spare.
A thin silk motorcyclist balaclava or a buff is another excellent piece of kit to protect your exposed facial skin from extreme wind chill that can result in frostnip or even frostbite, whilst its breathability compared to a scarf reduces the effect of condensation forming inside goggles or on glasses.
-
Hands down, the right gloves are essential
(Photo credit: Peak Climbing School)
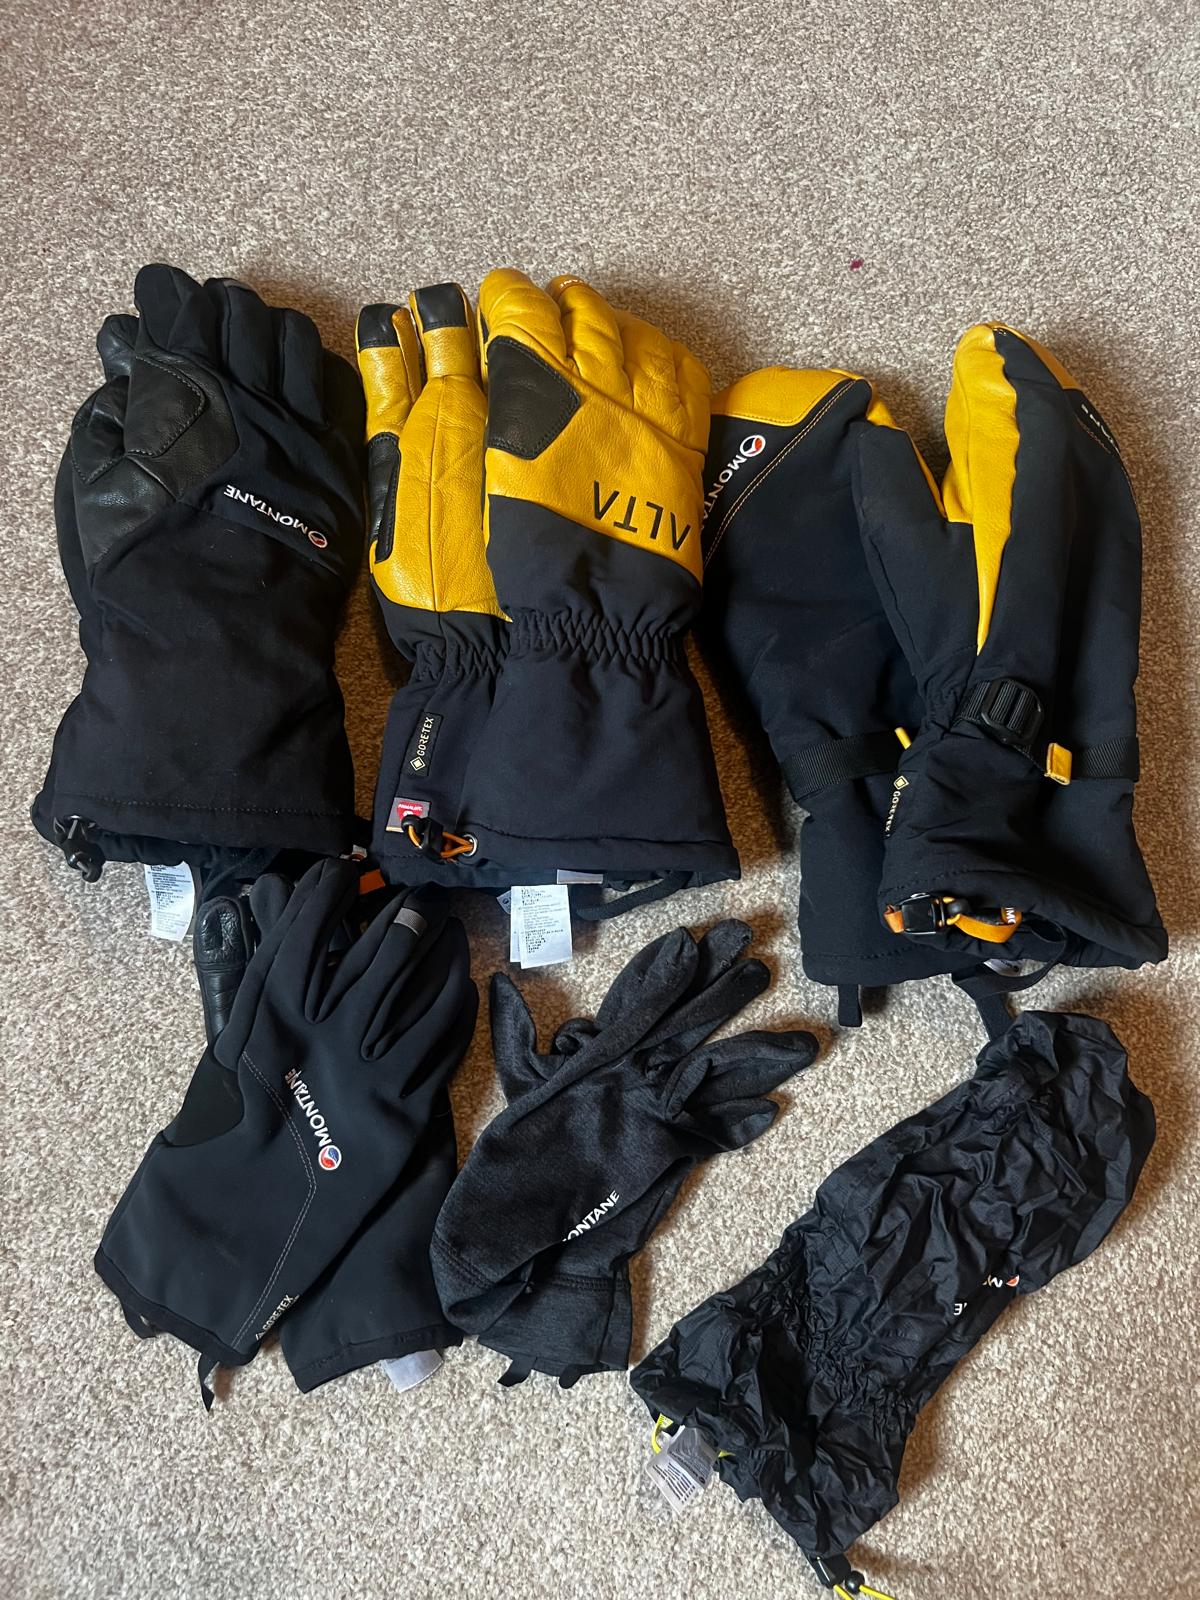
In winter it’s common to go through multiple pairs of gloves due to sweat, snow melt and rain. It is worth carrying a few spare pairs of gloves. On a big wet day out we sometimes go through 5 or more. If you bring a variety of types they can be good for different tasks
We like:
- Thin gloves perfect for the approach
- Medium Thickness that are warm but help us keep some dexterity with zips and compasses
- Thick gloves for use in extreme cold or to bring some warmth back to the hands on the walk out at the end of a day
- Liner gloves Are quick drying, make all gloves slightly warmer and if we have to take an outer glove off we don’t expose bare skin
- Waterproof overmitt like a waterproof jacket for your gloves
It's also worth weighing up mitts vs gloves. Mittens are super warm as your fingers share body heat but they can make more dexterous tasks harder. We tend to favour mitts for the walk out at the end of the day when there aren't as many fiddly jobs to do.
If you store the wet gloves in a separate ziplock bag, it will stop the rest of your kit getting wet. It’s also worth practicing using your kit while wearing thick gloves before you go out. For example, using compasses or doing up zips..
-
Don’t let winter in, master the art of layering
(Photo Credit: Peak Climbing School)
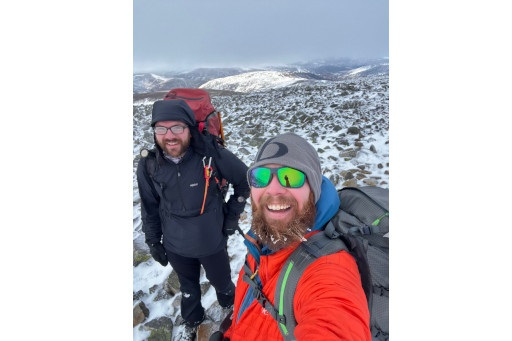
Most people are familiar with layering for the hills and mountains, but as things get colder tweaking your setup makes a big difference. Insulation doesn’t really come from the material itself but from its ability to trap air. Also if you have more thinner layers instead of one thick layer it’s easier to tune your temperature when going up hill etc.
Our layering system tends to consist of
- A base layer
- A midlayer, generally a fleece
- Insulating layer
- Waterproof hard shell
A decent base layer both top and bottom are very good at moving sweat away from the body which help keep you dry as well as warm. There are many choices: the synthetic materials tend to be cheaper but smell quicker. Merino wool is super comfy, doesn’t smell as much but carries a higher price tag.
Fleeces make a good mid layer and because they’re a synthetic material they tend to be quick drying
If you’re adding a warm jacket, consider the pros and cons of synthetic vs down. Generally for Scottish winter we prefer synthetic as it retains more of its warming properties when wet, the only downside is that it’s bulkier to pack and slightly heavier over down.
-
Rain, wind or rescue: the power of a group shelter
(Photo credit: RAB)
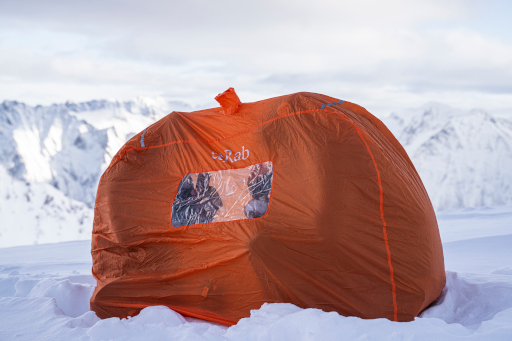
Group shelters, also known as emergency shelters, are invaluable in winter. They’re effectively the outer skin of a tent often with windows and vents. Getting inside of one will keep the wind and rain off and with a few people inside it can get surprisingly warm. They’re often carried to protect a casualty and a group whilst waiting for rescue (and can be life saving). We think if the weathers against you they can transform a wet and cold lunch spot into a more comfortable experience. We're a huge fan of the Rab shelters, as a UK manufacturer they're built for the British weather and for they're a generally pretty feature heavy without compamising weight.
-
From rocks to snow, sit anywhere in comfort
(Photo credit: Exped)
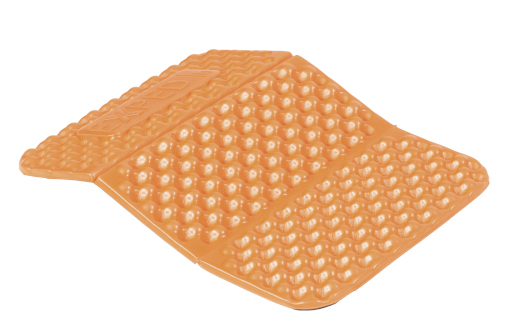
If you sit on the floor most of your body heat is lost into the ground, not to mention getting a wet bum! This is where the foam sit mat comes in. These can be bought purpose made or cut from a piece of closed cell foam like an old sleeping mat to create a pad to insulate you from the ground. Some of our team cut the mats to torso length. If you need to insulate an injured person from the ground, their core is the most important thing to keep warm.
Some pads fold up or if flat they can be easily stored down the back of your rucksack and offer some extra padding.
-
Don’t be left in the dark: essential emergency electronics
(Photo credit: Peak Climbing School)
We have a saying in our office, ‘plan A never survives first contact with the enemy’. Part of the fun of winter adventures is that plans are often dynamic. En route changes aren't really a problem if we’re prepared for it.
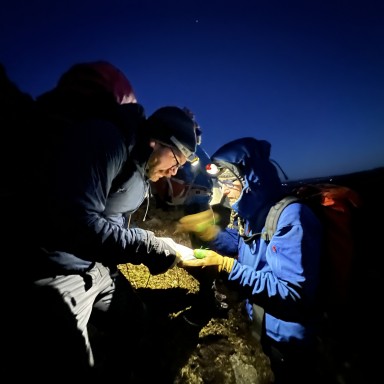
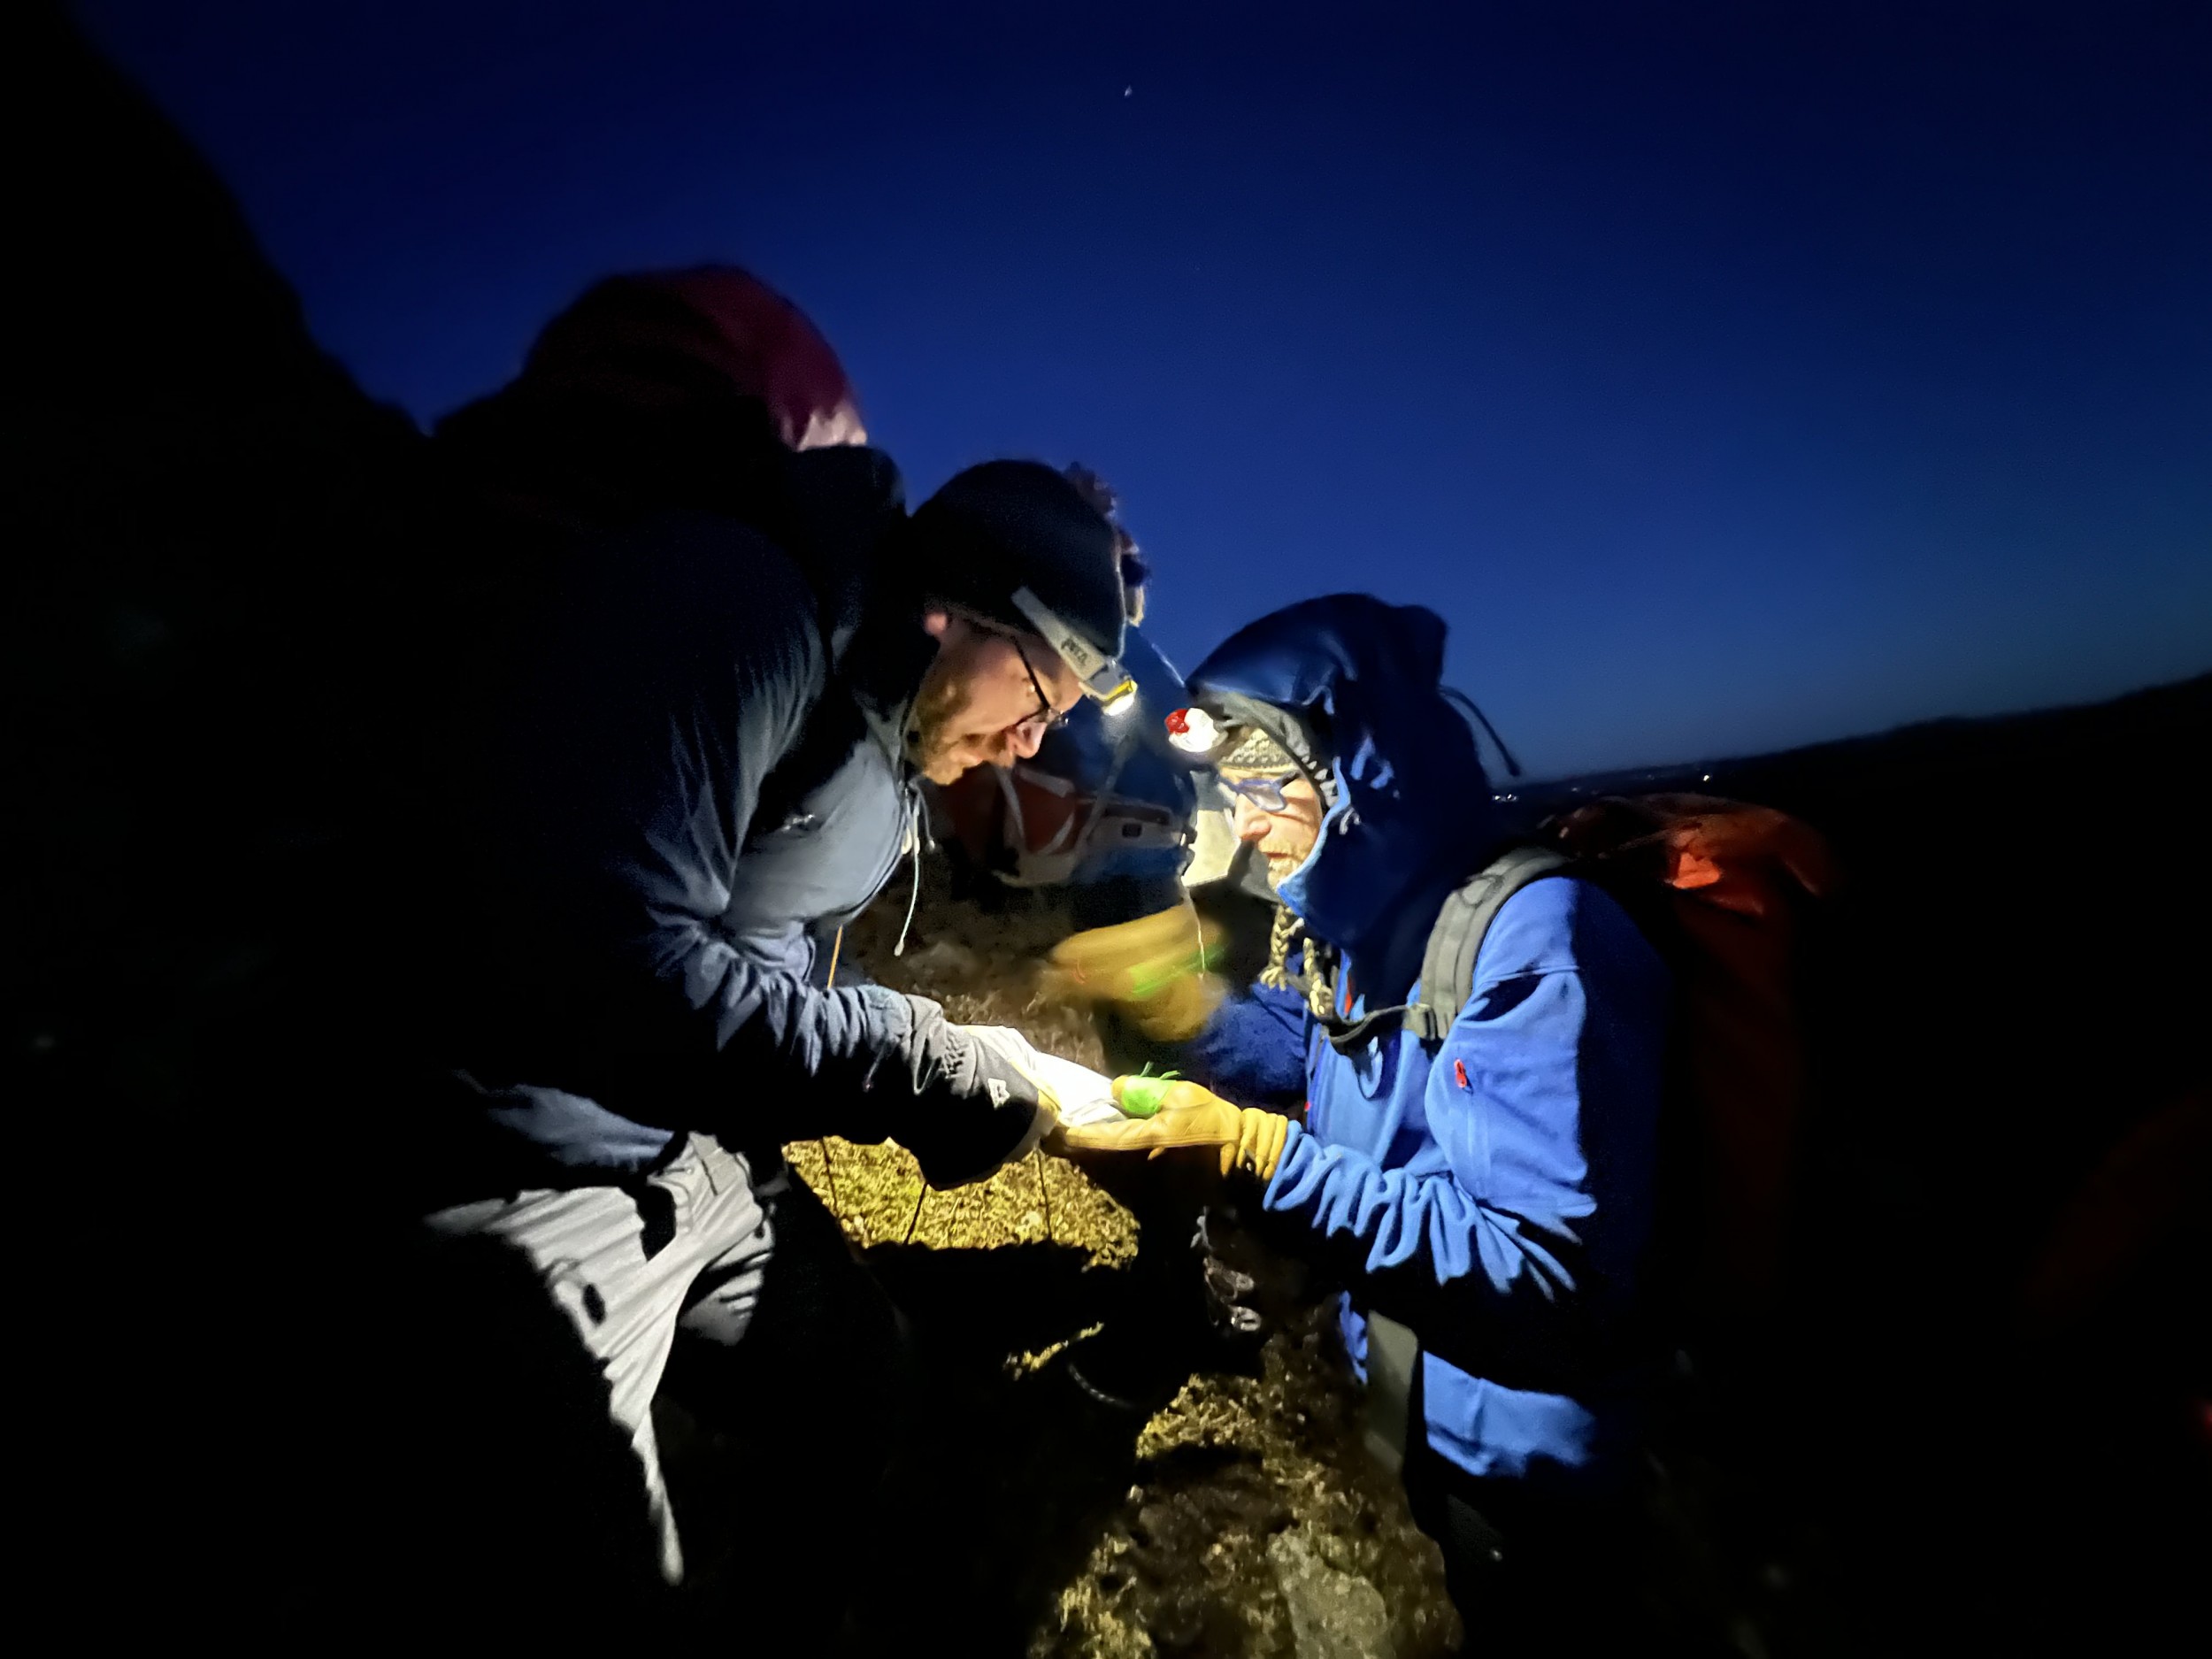
First off a headtorch is a good idea, a little emergency one is better than nothing but something with a decent amount of light and battery life is ideal, the Alpkit Quark and Pezl Tika are good examples. Spare batteries are essential and if they can be kept in a close to body pocket to keep them warm they will last longer.
Mobile phones are essential for most people nowadays, either as an addition to traditional mapwork, to take photos (or it didn’t happen) or simply as part of an emergency plan. When its cold, batteries drain much faster so having a power pack to recharge if need be is a must have in this day and age.
-
Snow, sleet or hail? Goggles never fail!
(Photo credit: Peak Climbing School)
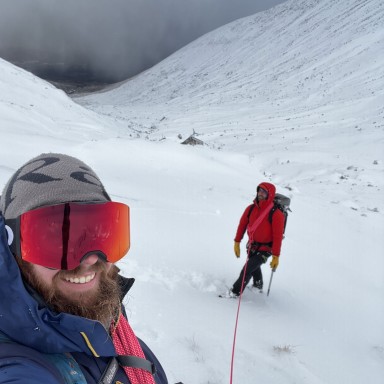
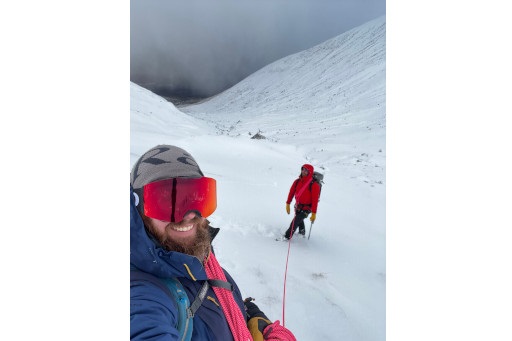
If you want to venture out into those classic Scottish winter conditions a pair of goggles are essential. A pair of good quality clear ski goggles work well enough and importantly offer your eyes protection from driving hail, sleet and snow. Coloured lenses are available and can help in different light conditions but cheaper clear ones are a really good starting place. If any moisture comes into contact with the inside of the lens, this can freeze and mist up. The best way to avoid it is to not take them off after you’ve put them on. It is also worth keeping them in a dry bag to stop them getting wet in your rucksack, before you put them on.
Bonus tip
-
Keep the wet on the outside: the magic of drybags
(Photo credit: Exped)
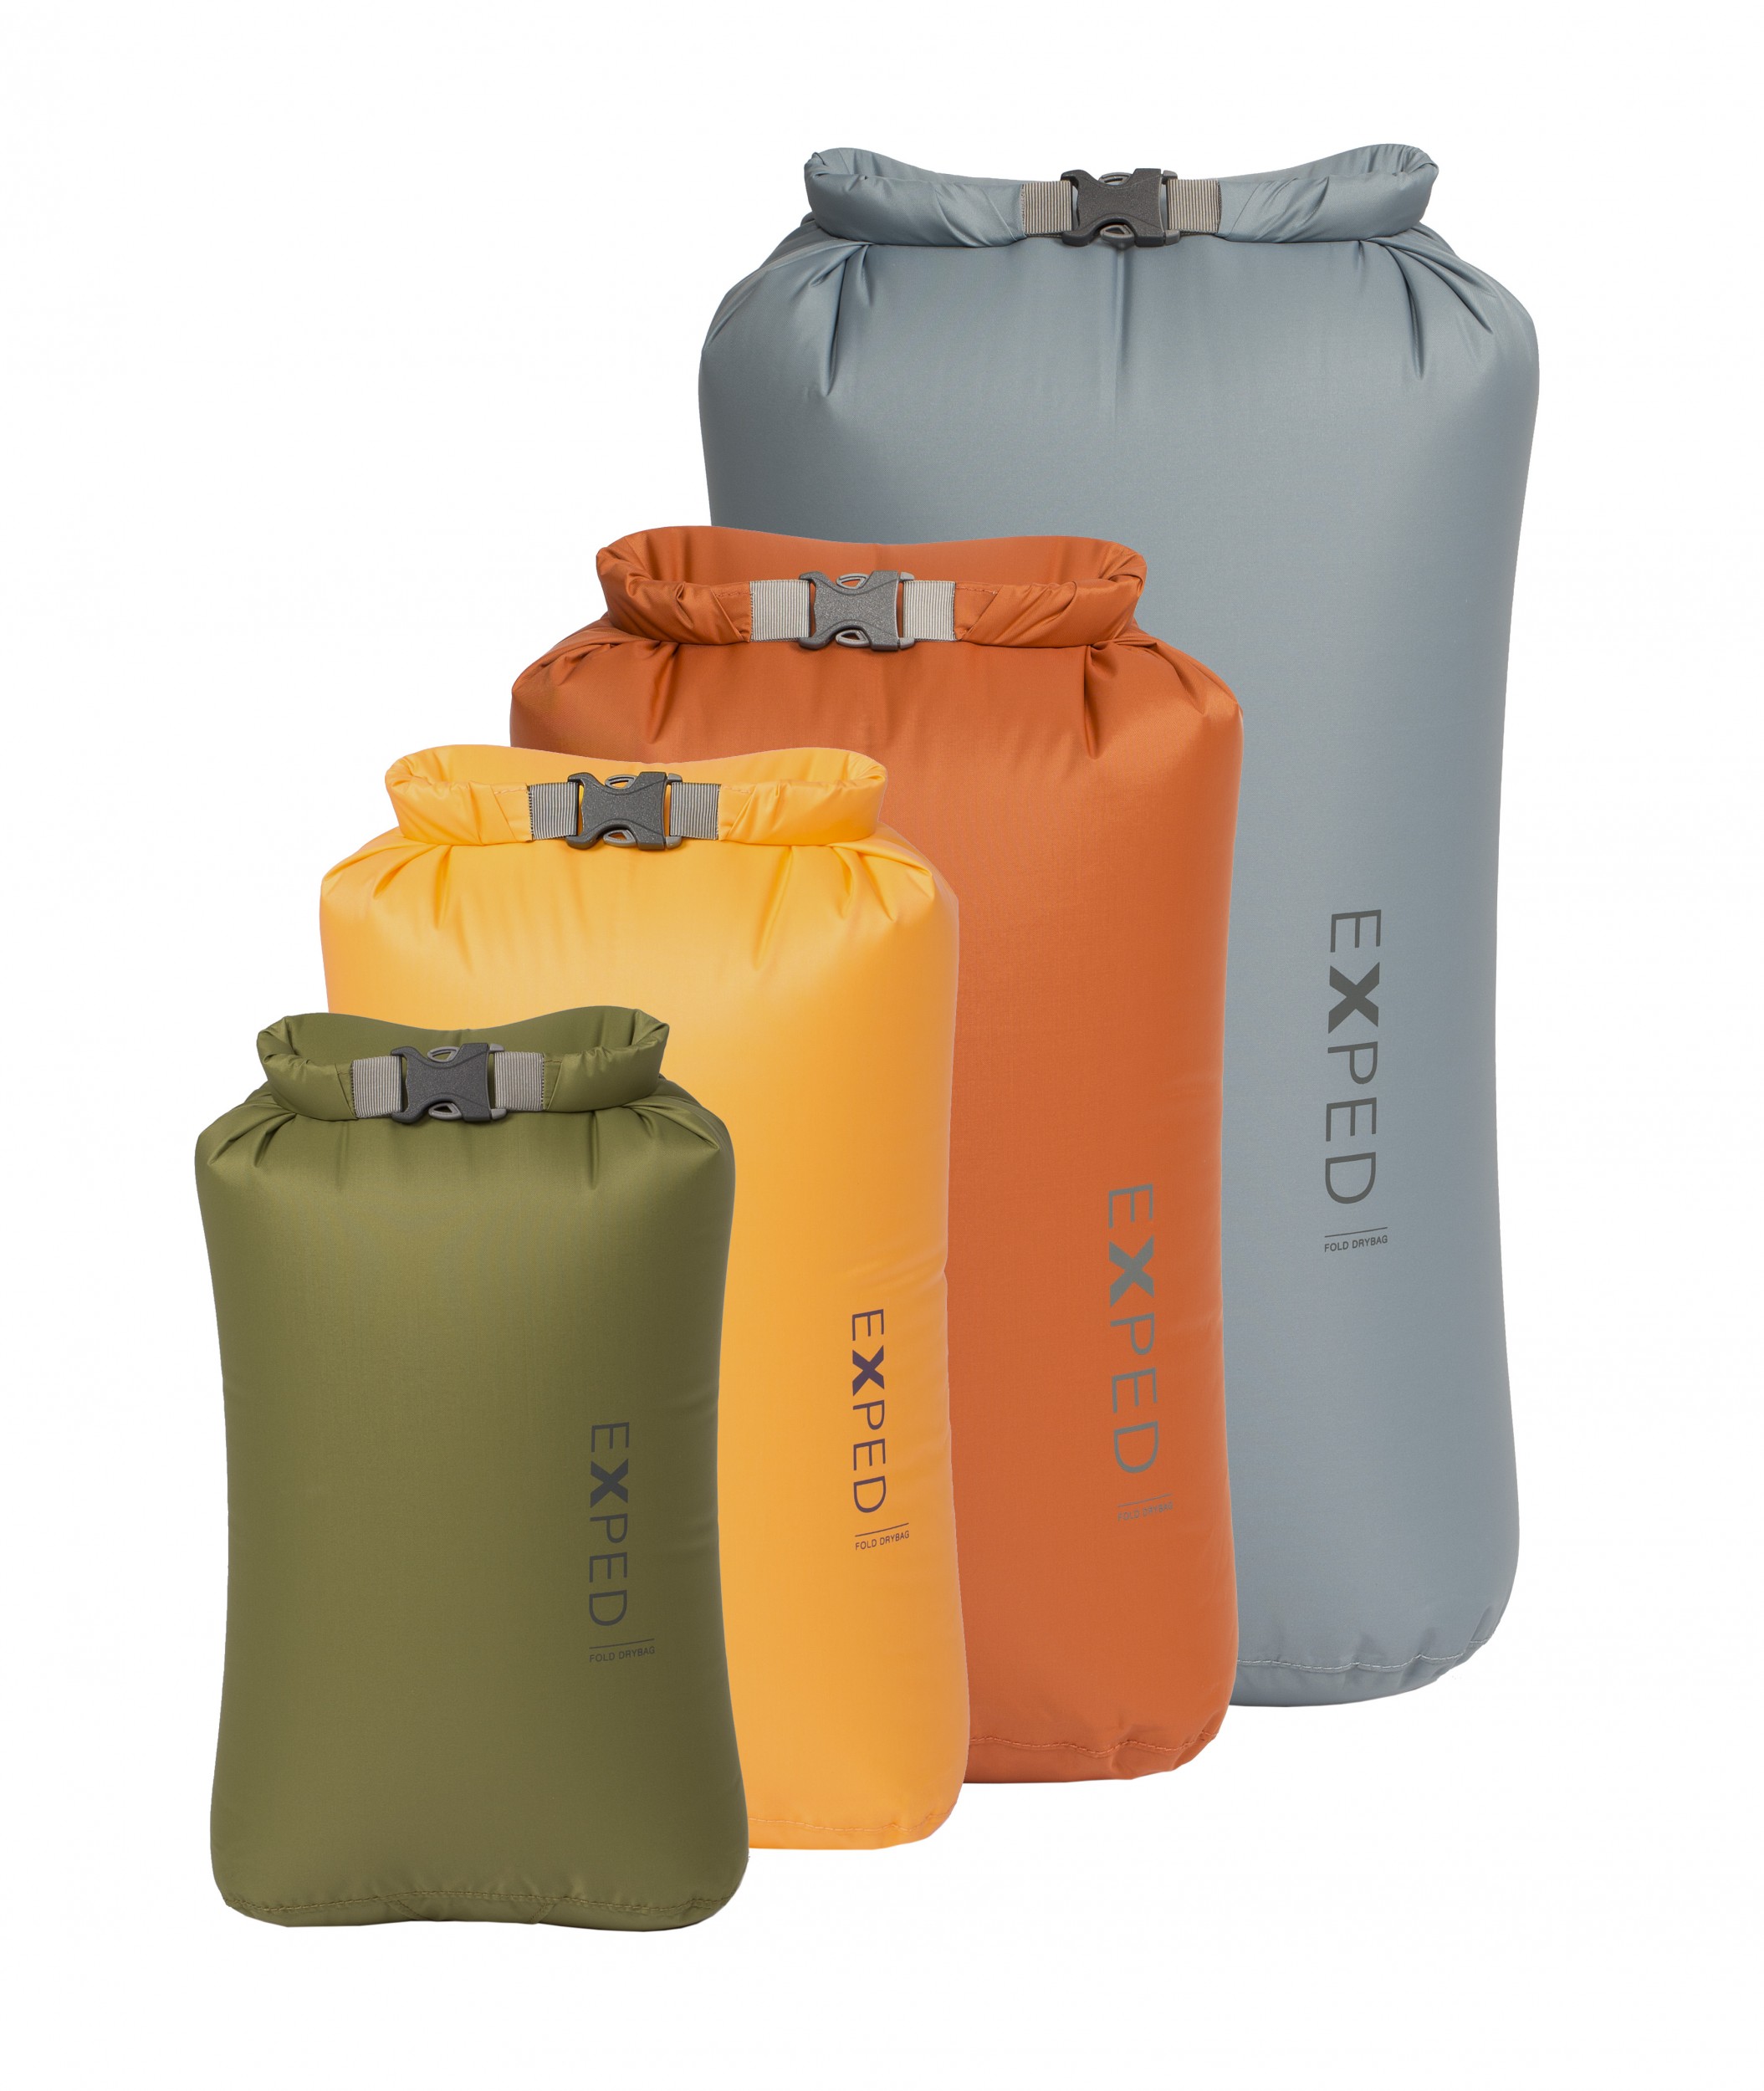
It’s a bonus tip because walking in the mountains in the UK it’s always a good idea to have your kit in a dry bag most of the year. Although in the other seasons we tend to have one larger bag liner. A winter tweak is we like to break our kit into smaller coloured bags inside of the liner. E.g. a small yellow one for gloves, a medium orange for other layers, etc. Kit you don’t mind getting wet, like water bottles and waterproofs don’t need to be in the dry bag. When you get it out you’ll only get the contents of the bag wet.
-
Snow specific equipment
(Photo credit: Peak Climbing School)
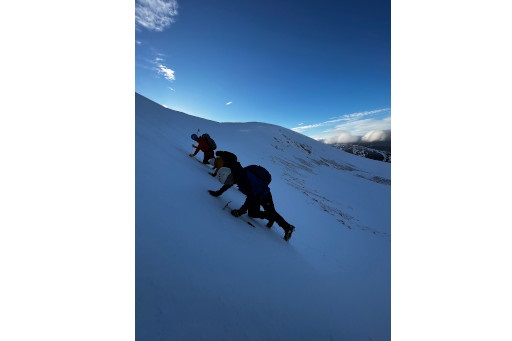
If you’re venturing into snowy conditions, specific gear like crampons, an ice axe, and avalanche equipment (shovel and probe) is essential. More importantly, you need the skills to use them safely. If you’d like to learn or brush up on winter mountain skills, check out our courses:
Peak Climbing School – Winter Mountain Skills Courses
Written by our seasoned instructors and full time Peak Climbing School Staff, Nick Bentley (AMI & MTA member) and Joe Cresswell (AMI & MTA member), - To learn more or for any other information please feel free to contact on info@peakclimbingschool.co.uk or call us for more advice on 01538300174
Share this Article
Recent Blog Posts


D of E Kit List: The Ultimate Packing Guide
Posted: 16th February, 2025 Read Article
Sintra- Bouldering Destination Guide
Posted: 21st January, 2025 Read Article
What to Pack for a Climbing Course: An Essential Kit List
Posted: 14th January, 2025 Read Article


